Amaryllis Bulbs -The Secret to Getting Them to Re-bloom
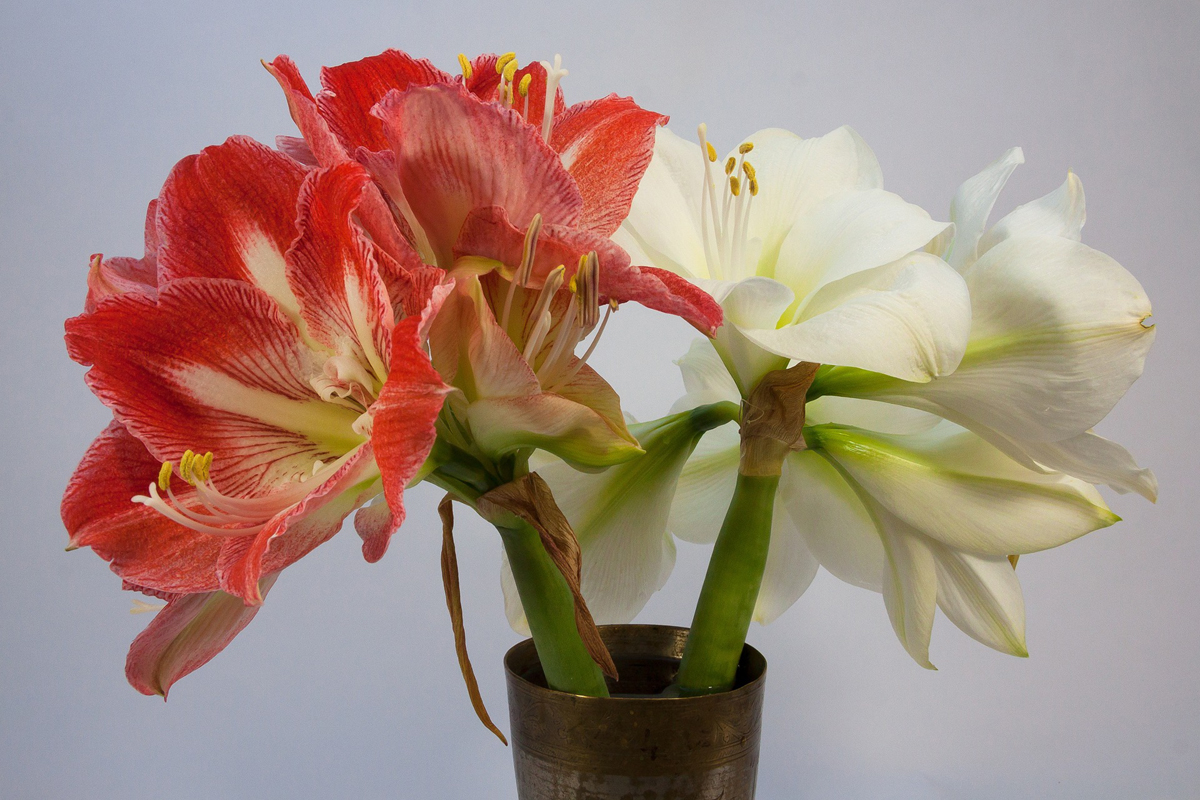
Perhaps you received an amaryllis bulb as a gift for the holidays. No other interior flower can add such a volume of delightful color in a home during the long winters than the amaryllis. With so many colors to choose from – white, with streaks of red, various shades of red, orange,and yellow you will certainly want to take care of your plant to insure that it re blooms year after year. It’s not hard to do once you know the secrets.
Planting
The large amaryllis bulbs are often purchased in potted kit form with directions included. These potted bulbs require only watering and light to begin growth. Plants which are already growing are available at many flower shops.
If you purchase unpotted bulbs, choose a pot or container having drainage only 1-2 inches larger in diameter than the bulb’s diameter. When planting the bulb there should be only ¾ to 1 inch of space between the bulb and the sides of the pot. Use a potting soil consisting of equal parts garden loam, peat moss, and Perlite or sand. Packaged, commercial potting soils having good drainage may also be used.
Plant the bulb so the top one-third to one-half of the bulb is above soil. After planting, water thoroughly and place in a warm, sunny window.
Care After Planting
Water thoroughly when the container soil is dry to the touch. Excessive moisture can cause bulb rot. As roots begin to develop and fill the container, the soil will dry more quickly and watering should be adjusted accordingly.
In several weeks a flower bud will begin to emerge. The bud will usually, but not always, appear before the foliage. Once the growth of the bud and foliage has begun, rotate the container daily to prevent the plant from leaning toward the light. Plants will occasionally require staking to keep the flower stalk in an upright position. To do so, gently insert a stake into the soil using care not to injure the bulb. Then carefully tie the stalk to the stake. Stakes may also be inserted at planting time.
If you’d like to prolong bloom, try the following method. When the flower bud begins to open, use tweezers to remove the yellow anthers inside the flower before they shed pollen. This may extend the flower bloom by several days. When the amaryllis is in full bloom the flowers will last longer if the plant is moved to a cooler room at night (55-65 degrees) and kept out of direct sunlight during the day. Large bulbs may send up two or three additional flower stalks.
After Flowers Fade
Remove the flowers after they fade. The withered flower stalk can be removed with a sharp knife near the neck of the bulb. Do not cut off any foliage, because the leaves are needed for photosynthesis to replenish food reserves in the bulb. It is essential to keep the foliage growing vigorously, because after flowering, the bulb initiates flower buds for next year’s bloom.
How to Rebloom the Amaryllis
It can be challenging to coax an amaryllis to rebloom each year. It’s easily accomplished if certain procedures are followed. The key to rebloom is found in the plant’s native habitat. The amaryllis is a native of the tropics, a region receiving nine months of rainy weather and three months of dry weather. The plant grows lush leaves throughout the rainy season, but when the dry season approaches the plant enters a rest period or dormancy in which the leaves die down and the plant remains inactive. When the rainy season begins again, the plant produces a rapid flush of growth accompanied by a flower stalk. Therefore, the blooming time of the amaryllis is regulated by the moisture of the environment. After blooming in its native habitat, the plant continues to grow throughout the remainder of the moist season. During this period the plant is storing up energy and forming flower buds in the underground bulb for next year’s bloom. Continue fertilizing twice each month. This outdoor growth period is critical. It is during this time that the amaryllis plant is storing up energy to produce flower buds inside the bulb for next year.
In late summer before frost take the plant indoors and discontinue watering, but give it full light. Keep the pot in a cool (50-60°F) basement or upstairs room. The leaves will usually die down during this rest period which is like the dry season of the tropics. After the leaves die, the plant may be stored in the dark.
In mid-winter repot the bulb into a pot no more than 2 inches larger than the bulb’s diameter. (Amaryllis perform better if slightly pot bound.) Plant the bulb so that only the lower half or two-thirds of the bulb is covered with well-drained potting soil. Use caution to avoid unnecessarily disturbing roots. If a total repotting isn’t needed, simply remove some soil at the top of the pot and add fresh soil leaving the bulb intact.
In mid to late winter you’re ready to bring the plant into regrowth. Place the plant in a sunny south window and water well. Healthy growth should soon begin with either leaves or the flower stalk beginning growth first.
Pest and Disease Problems with Amaryllis
It is a rare plant that isn’t plagued by some insects and diseases. The amaryllis is no exception, although its problems are few in number. The North Dakota Extension Service list the following pests and diseases and gives advice on how to control them.
Spider Mites:
Reduce population by forceful spray of water. Control with an application of an approved miticide.
Thrips:
Because of the scraping-sucking mouth parts, thirps can be one of the causes for the amaryllis to fail flowering. Control by spraying with a forceful water spray and the use of an approved systemic insecticide.
Viruses:
These cause a blotchy or mottled appearance on the foliage. Generally, there is no recovery or cure for virus infections. It is best to dispose of the affected plant to prevent spread to other plants via feeding insects or handling.
Fungus Diseases:
Seldom a problem with amaryllis in the home. To prevent, avoid high humidity, crowding of plants and splashing water on the foliage. Use of a labeled fungicide in the early stages of infection may be effective.
The Author:
Julia is a Master Gardener, floral designer, and garden crafter. Married to a landscape contractor, they enjoy gardening on their 5 acre flower farm and sharing it with others.

