Common Quilting Mistakes Even Pros Make
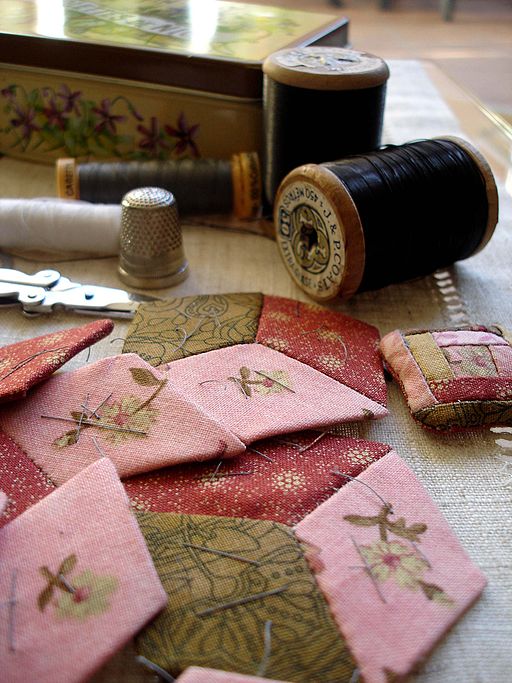
Like medicine and yoga, quilting is a practice-not something you can master. That can seem like reassuring news for a quilting newbie, but frustrating for those who have been practicing their craft for years. No matter where you are on the spectrum, rest assured that you’re always in good company. With quilting, there are always skills you can better, new ones you can learn and different approaches to try that can help hone your talents. There are a few common errors that everyone makes, but at the core of them all is one similarity: accuracy (or lack thereof).
Quilting is a skill set, not a collection of individual skills that magically come together. It’s a flow. Here are a few of the most common errors that many quilters make, and how to avoid them.
Failing to Tag-Team
Cutting and sewing go together like birthday cake and ice cream. Except for a few exceptions-such as paper piecing approaches-seam allowances in the quilting worlds are ¼-inch. Make sure, right now, that your sewing machine has a correct seam setting, but also keep in mind that failing to cut correctly can mess up the entire process before you really get started. Cutting and sewing is a tag team effort, based on pieces (correctly cut) and sewn together (with proper settings).
Making Waves
Mistaken waves are never a good thing in quilting, especially at the borders. It’s a common ailment, and fixing it starts with ensuring the top quilt is even both in width and length. When adding borders, measure first and then cut your borders. This prevents you from accidentally adding too much fabric, which is the culprit behind wavy boarders.
Feisty Pressing
Pressing is kind of like dating. It can either vastly improve your patchwork (likened to love life) or turn it into a huge mess. Most quilters simply set the iron directly on a flat space of patchwork and depend on weight and heat to take care of business. However, you need to “work” the iron, along the tip or edge, easing it into seam allowances. Slow, steady pressure is the key here, and remember that it’s “pressing” (not ironing) so act accordingly. Important Note: No steam.
Ducks in a Row… Kind of
Mismatched rows are the bane of many a quilter’s existence. Simply put, fabric stretches so even if you think you have perfect rows, the end product might not look so aligned. Sewing pins included at every seam don’t necessarily stop this problem, and taking out stitches can be a huge pain. Try holding the first two seams you want to join together with your fingers, insert underneath the pressure foot and sew a couple of stitches along the intersection. Post-backstitching, cut and move to the next intersection. Finally, open the joined rows and see if the seams are straight. If not, it’s much simpler to re-do this short process, which can be a serious time saver.
Most importantly, take your time, don’t rush and don’t forget to enjoy the process. Unless you depend on quilts for your bread and butter, this is supposed to be fun, so don’t let that get forgotten in the seams.
The Author:
Jillynn Stevens, Ph.D. is a writer with a vast array of subject matter expertise. Along with publishing articles for large and small businesses, she researches, writes and publishes reports on various public policy issues.
