Make Super Cheap Seed Starters
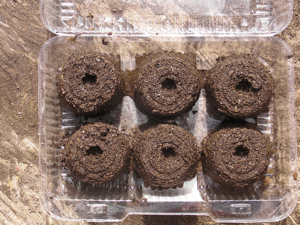
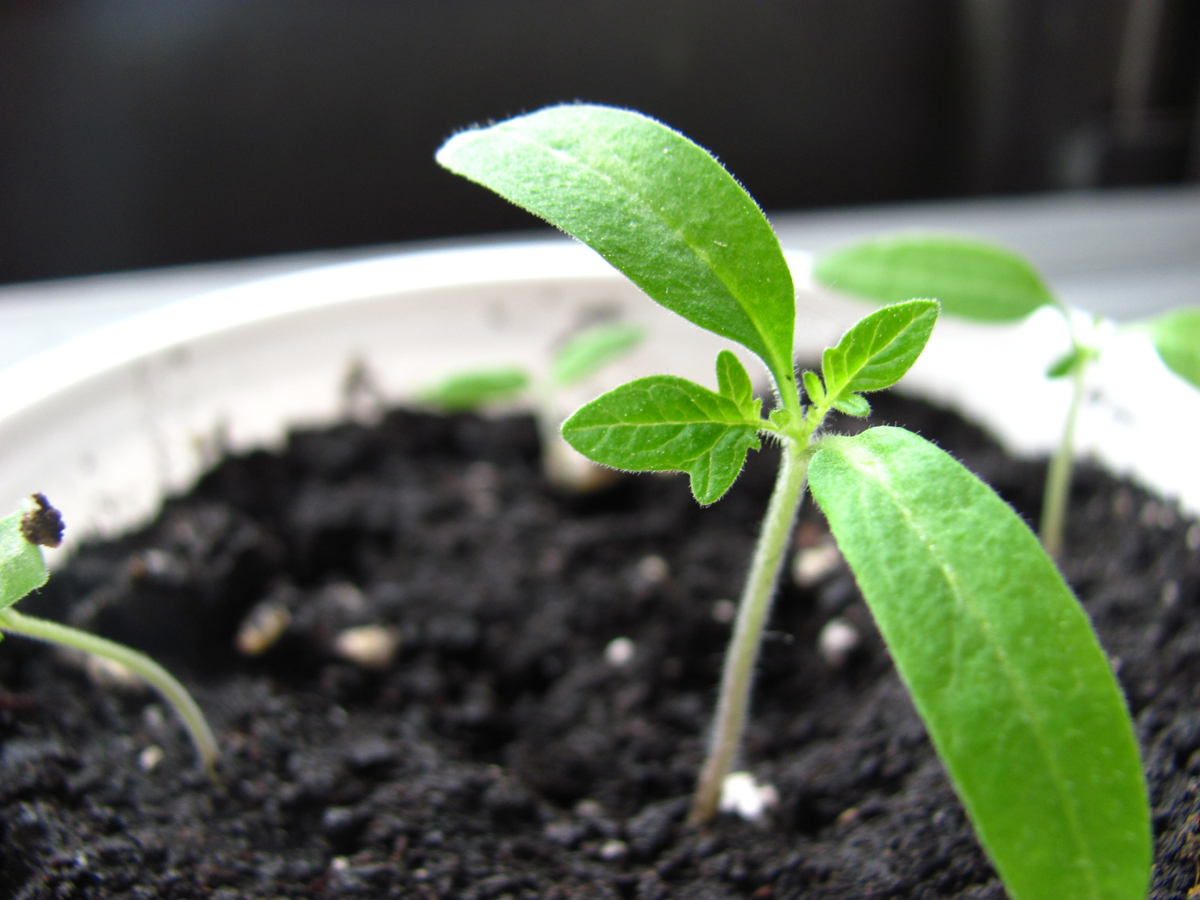
If you want to start your plants indoors weeks before you can put them into the ground, soil blocks is the way to go. They have many advantages, but the main one is that soil blocks GREATLY reduce transplant shock, leaving you with more survivors in your garden. They won’t create root balls like starter pots or trays, they don’t limit roots in the soil like peat or paper pots, and they don’t destroy roots like flats.
Making soil blocks requires a soil block maker, or blocker. The blocker compacts soil into plugs that come with a preformed depression for placing your seeds. Getting your plants off to a good start has never been easier!
Materials
- Smooth can, either metal or plastic, with lid 2″ – 4″ in diameter
- 3/8″ eye bolt, 6-8 inches long
- 2 or 3 3/8″ nuts for eye bolt
- 2 washers for eye bolt
- Several large trays (I like to use plastic bakery containers)
Tools
- Drill
- 1/8″ and 3/8″ Drill bit
- Hacksaw
- Pliers
- 2 wrenches
Preparation
You can make these blockers any size you want, depending on the size of the seeds you have. A 2″ block (½ pint size) is best for most seeds.
The main thing with the can selection is avoiding a corrugated can, like a soup can, as the soil doesn’t release well. Make sure you clean the can well before starting.
The Plunger
Using the hacksaw, cut off the bottom of your can. Cut about 1/8″ to 1/4″ from the bottom of the can.
Cut slowly, and make sure you get a good, straight cut. This will become the plunger part of the blocker.
With your pliers, go along the end of the cut-off bottom and bend the 1/8″-1/4″ of the remaining part of the can towards the center, so that you have a nice smooth circular edge without any sharp bits.
Mark the center of your cut-off bottom.
Drill a hole at your center mark, starting with the 1/8″ drill bit for a pilot hole, and then step up to your 3/8″ drill bit.
Drill a hole in the center of the lid, exactly as you did for the cut-off bottom.
Assembly
Put one nut on your eye bolt, and thread it about 1 1/2″ to 2″ from the end of the eye bolt.
Place a washer on the eye bolt, followed by the lid of the can. If the lid has a protruding rim, make sure it faces the “eye” part of the eye bolt.
Now, slide on your plunger (cut-off bottom), and follow it with a washer.
Thread your last nut onto the eye bolt. The very last nut should be flush with the end of the bolt. Tighten the other nut against the last nut you put on. You should now have a very stable plunger. Note: if you are making a bigger blocker, put two nuts on the tip to make a deeper depression for larger seeds.
This plunger slides inside the main cylinder of the can.
The Soil
Many soil mixes will work for a soil block, but this recipe will be almost fool-proof:
Eliot Coleman’s Organic Recipe
• 30 units peat
• 1/8 unit lime or ½ unit wood ashes,
• 20 units coarse sand or perlite
• 3/4 unit organic fertilizer (equal parts blood meal, colloidal phosphate and greensand)
• 10 units good garden soil
• 20 units well-aged compost
Sift all ingredients before mixing. Mix the peat and lime or wood ash first. Mix the sand or perlite with the fertilizer. Then mix everything together.
Making Soil Blocks
Set up a nice large work area. You’ll want a hard surface like a concrete slab to dump your mix, and then another area to keep your trays and blocks once they are made.
Dump your mix onto your hard surface.
Wet your mix. Be careful with this step, as most people won’t add enough water initially. You want your mix thoroughly moist, and almost dripping water.
Make a large pile of your wetted mix. The pile should be a an inch taller than your block maker.
Place the plunger into the cylinder of your blocker. The eye should come through the top towards you.
Dip the blocker in water.
Now ram the blocker, bottom first into the mix until it hits the hard surface below. Give it a few twists and turns to make sure it is making contact with the surface.
Pack the soil lightly, but firmly with the plunger. This should “seat” the soil in the blocker.
Pull the blocker with soil out of your pile of mix.
Gently lift the blocker, and the soil should stay inside. If it falls out, try again, and gently twist and tilt the blocker as you lift the blocker. If the soil won’t stay on the blocker, add a bit more water and pack the soil a bit harder.
Place the blocker with contained soil bottom down in your tray. With one hand, press down with the eye bolt. With the other hand, gently raise the cylinder, twisting the cylinder as it rises.
You should be left with a nice, compacted soil block on your tray. The eye bolt and nuts will leave a good depression to place seeds.
Once you have made several blocks, place a seeds or two in each block depression, then cover lightly with a bit of mix.
Be sure to keep your blocks moist, watering them daily. Once the seeds sprout, you can remove the lid from the container.
Depending on your plants, you can usually transplant 2-4 weeks after they spout. Handle the blocks with care during transplanting, and use a spatula make sit easy to lift the blocks out of the tray and into their new home.
The Author:
Abe Connally – More info: http://VelaCreations.com/soilblocks.html

