Two-Step Seed Starting Method
Starting Seeds Indoors
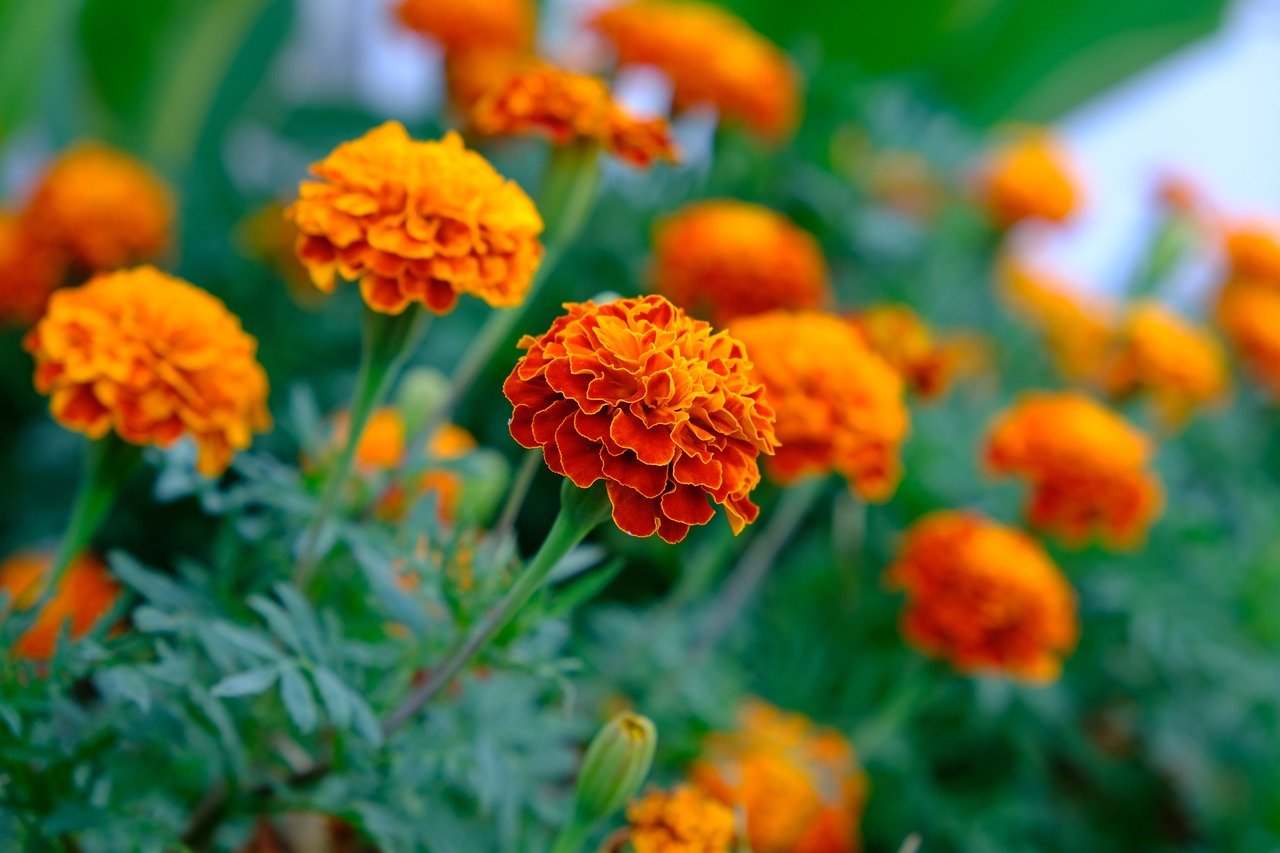
If spring weather in your area tends to be cold and wet you may want to get a head start with tender plants such as tomatoes and peppers, by starting them indoors.
This two-step method of seed starting protects the seedlings from possible attack by other living organisms and fowl weather until they become established.
It will take about two months for the seedlings to mature enough so you can set them outside. But, be careful, if you sow them too early the seedlings will be leggy and root bound when planting weather and the proper moon phase arrives. This method of starting seeds is the one most commonly used by the seasoned gardener.
Step One
Sow seeds in a flat or shallow pan of vermiculite or other light soil mix. Be sure the medium is thoroughly damp before seeding. Fill the flat with the soil mix until it is 1/2 inch from the top. To smooth out the surface, press down lightly using a piece of board.
Before planting the seed, check the package directions for recommended planting depth. You can cut planting furrows as shown or scatter the seeds on the surface and sift a layer of soil on top then water lightly.
The best way to water the seeds is to place the container in a sink or tub, add water to just below the seed level, and allow the soil to soak up the moisture until it is saturated. Drain the tub and let the container stand until well drained.
Slip the flat into a plastic bag and keep at about 75°. No additional water is necessary until after seedlings appear, and then only enough to keep the medium damp, not soaking wet.
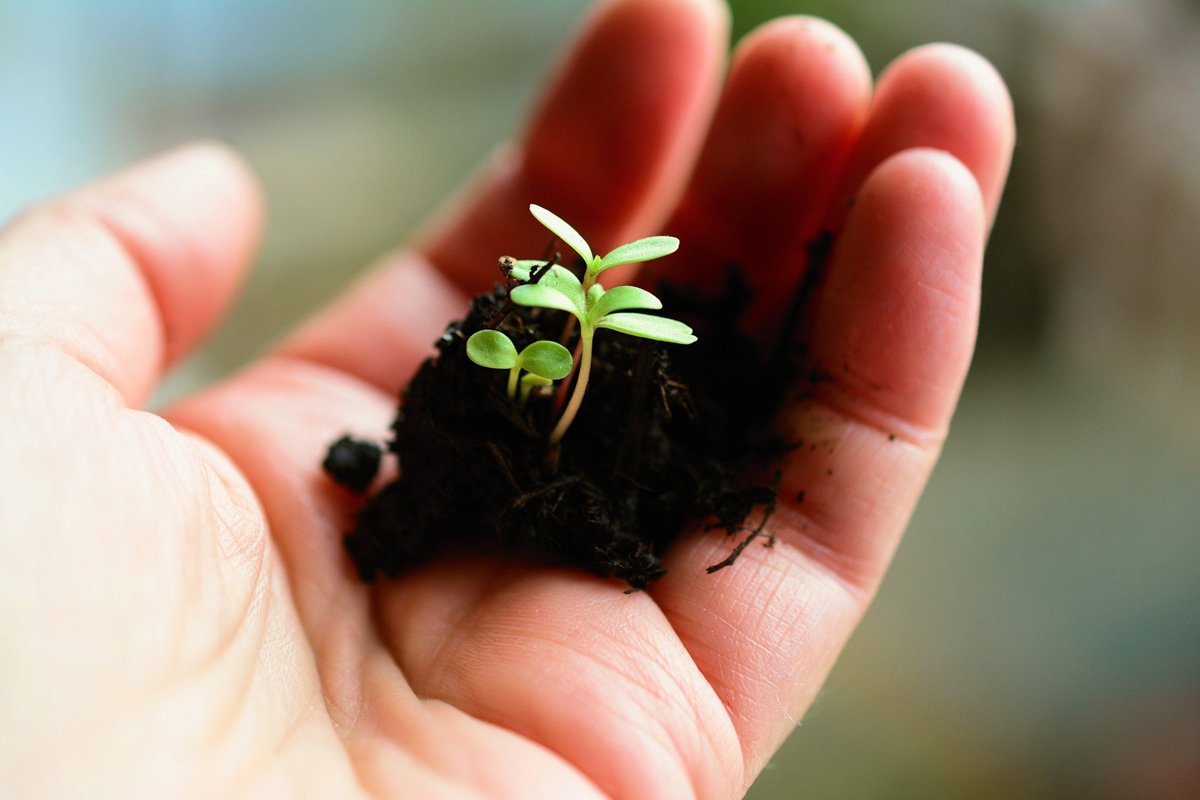
After six days, begin checking daily for signs of sprouting. When the first sprouts appear put the container into light or filtered sun. Be careful as too much sunlight can cause damage to the tiny plants. Once the bulk of the seeds in the flat has germinated the time has come to give them a new home.
Step Two
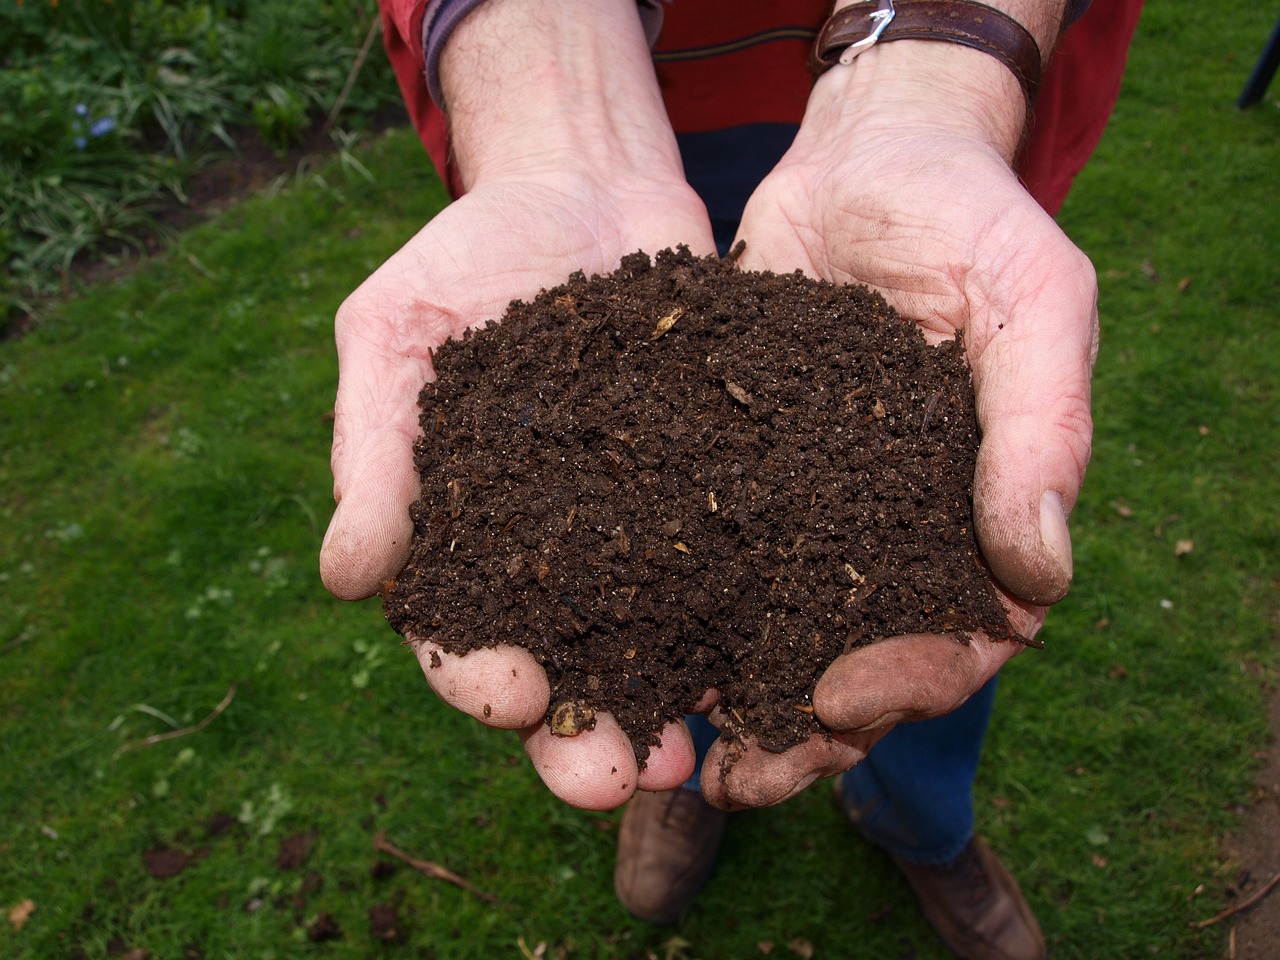
When the seedlings have developed two sets of true leaves, transplant them to 2-inch pots filled with moist planting mix. (i.e. Be sure to use a growing medium that can provide food for the developing plants, such as compost or another organic amendment)
Loosen the soil around each plant, gently grasp one of the leaves, and carefully pull out the seedling. Use a pencil or stick to poke a hole in the new planting mix, drop in the seedling, and firm the soil around it. Keep the plants in the shade a day or two, then move them into the light again until ready to set out permanently.
Put the pots on a tray in a plastic bag until the plants are 4″ to 6″ high and ready for hardening-off. Be sure to provide enough head room for the plants to grow. Wire wickets will do nicely.
The ideal transplants, when just right for hardening-off, are stocky-preferably wider than they are high; have 4 to 6 true leaves; and do not yet have flowers or flower buds.
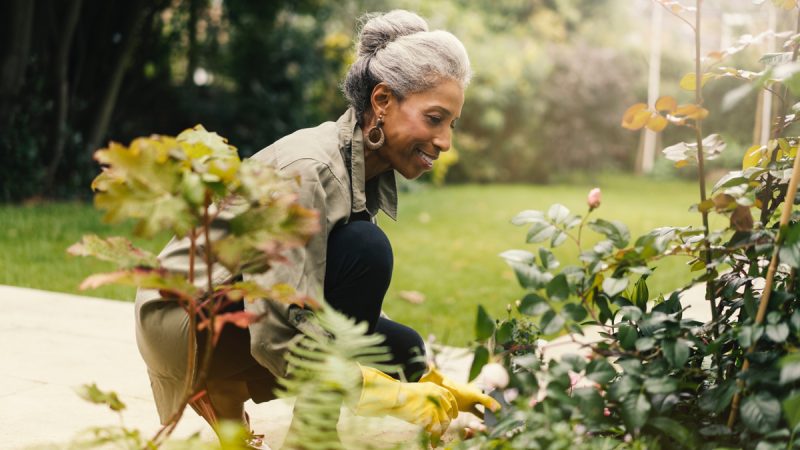
Once the plants have reached this point, and the weather and moon phase are correct, its time to harden them off. Remove the plastic bag and place them in a shady, wind protected outdoor area until its time to put them into the garden. Watch them carefully and be ready to move them back indoors if the temperature drops unexpectedly.
The Author:
Gene DeFazzio

