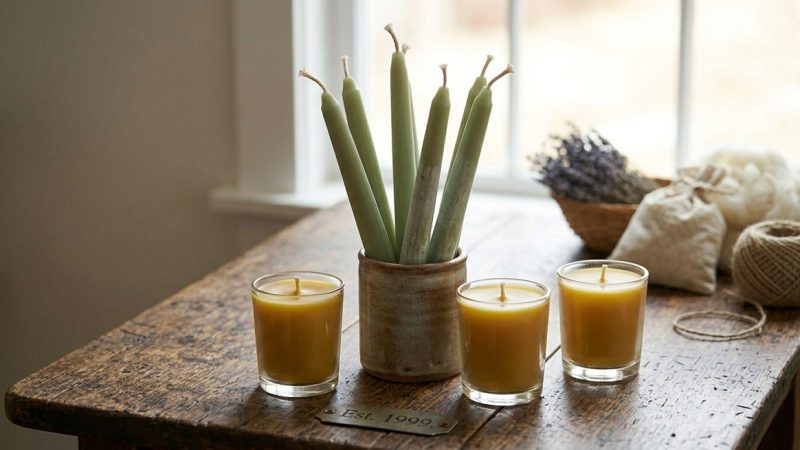
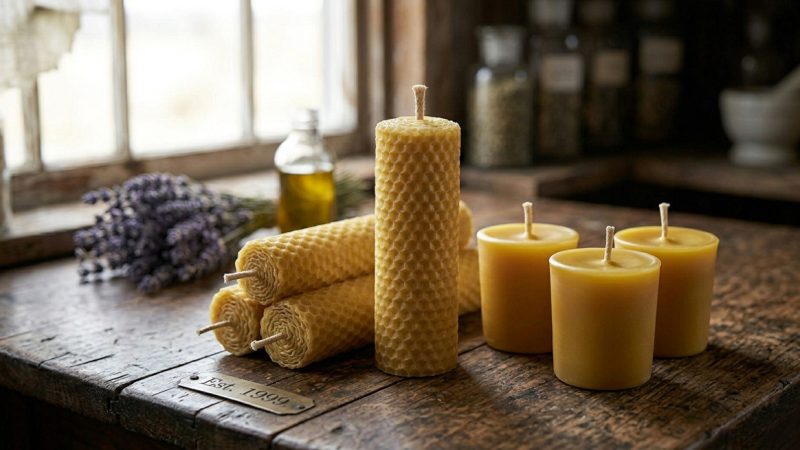
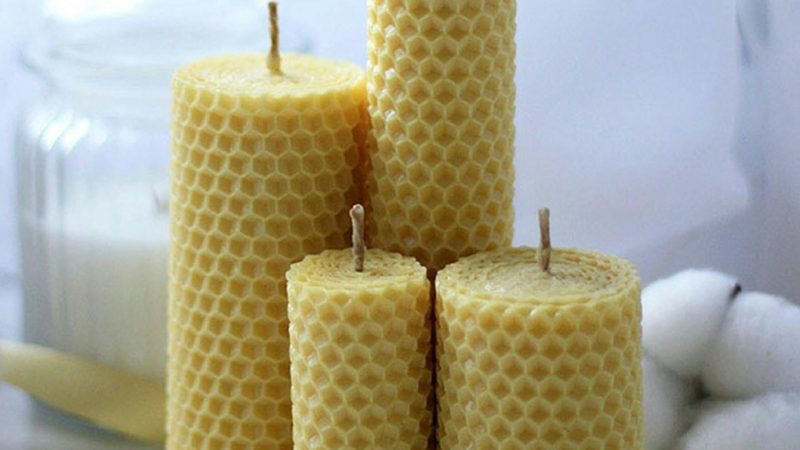
Making Hand Dipped Candles
Directions for making hand dipped candles.
Materials:
- Plain Paraffin Wax ( about 1/2 a pound) can be found at grocery stores & craft shops
- Double Boiler or you can use a large coffee can for melting wax in, inserted in a pot filled half full of water. (Never place the container of wax directly on the heat source as it poses a severe fire hazard.)
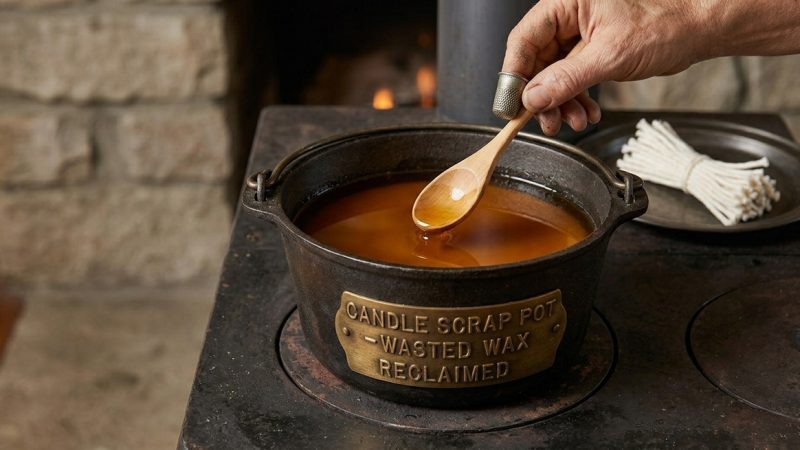
- Wooden Spoon for stirring
- Bowls: for cold water baths
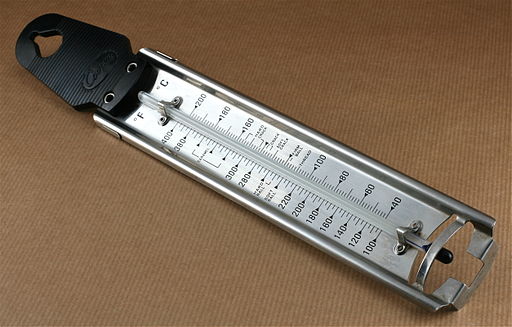
- Candle Thermometer (candy or meat thermometer works just as well)
- Heat: Kitchen stove.
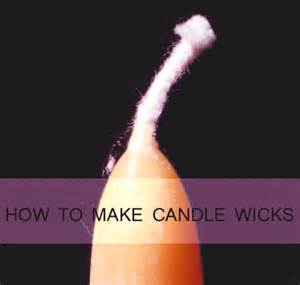
- Wick: available in most craft and hobby stores in various sizes. The size of the wick is important. The sizes increase in 1/2 inch variations. (Use this as a guide. 1/2″ wick to 1/2″ candle. A 1″ wick is suitable for a 1″ candle etc.)
- Color: you can get it in cakes, chips, powdered or liquid forms which is usually available in craft stores or you can also use crayons but it doesn’t burn as well.
- Scents: you can use fragrance oil or concentrated chips available at craft shops. The oil you use must be pure oil and have no water or alcohol base.
Directions for Making Hand Dipped Candles:
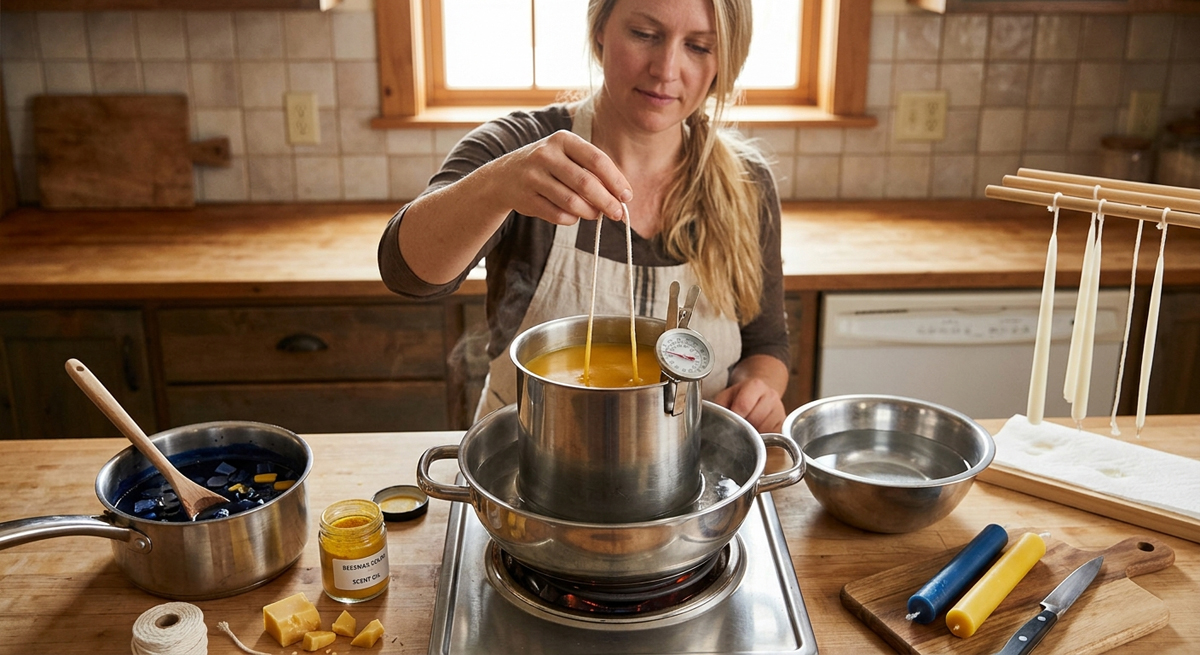
1. Begin by cutting up your wax in small pieces so it will melt quicker.
2. Next heat the water using a medium temperature, bring to a gentle boil. Place the wax in the double broiler or if you are using a coffee can place the can into the water. * Don’t use high heat, it may cause the wax to catch on fire.
3. Stir the wax until it is completely melted and it reaches a temperature of 160 F or 71 Celsius. (Test the temperature by placing the thermometer in the center of the melted liquid). Turn the heat down. Keep water warm enough to keep the wax melted.
4. Now its time to add your color. Add the crayons or color chips to the melted wax. Add a little at a time until you have reached the desired shade. Make note that the wax changes colors to a shade lighter when it cools. Test it by allowing a spoonful to dry on a plate. Once you have the shade you like, it would be a good idea to write down the amounts you have used so you can make it again.
5. You can now add the scent if you wanted scented candles. The more oil you use, the stronger the scent will be. Keep in mind that adding too much may affect the way the candle burns, moderation is the key to having nicely scented candles. Stir until well blended.
6. Make sure the wax stays melted. Check that the temperature of the wax is still 160F/71 C.
7. Now on to the next stage. Begin with cutting the wick to the desired length of candles plus a little extra to hold. Example: If you want 2 ten inch candles cut about 23 inches of wick. You will be making two at the same time. Double over the wick over your finger. Here’s where the dipping starts. Dip the wick in the wax for a few seconds then lift back out. Allow the wax to cool between dippings about a minute or so. You may find it a little tricky to get started at first because the wick floats on top of the wax until it gets weighed down. Don’t worry before long you’ll get the hang of it. Just make sure the wet candles don’t touch each other.
8. Continue the dipping and cooling process. After a few layers, although not necessary, you can speed up the cooling process by dipping the candles in cool water after each wax dip.
9. Repeat the process until the candles have reached the proper thickness. If lumps occur, roll warm candles on a smooth surface.
10. Increase the temperature until it reaches 182 F. Dip the pair into the wax one more time for a few seconds. Lift out then let them cool.
11. Using a sharp knife trim the bottoms to remove excess wax and to create a straight edge bottom for you candles.
12. Hang your candles to dry. Once they are dried you can cut the wick. Time to enjoy your new creation!
Safety Tips for Candle Making
1. Never leave children alone with melting or melted wax. Because it does not boil or steam, they may not realize how hot it is.
2. Never leave hot wax alone.
3. Never heat wax over 275° F, wax flashes from liquid to flame at 375° F.
4. Never let wax come in contact with flames. If you develop a wax fire, treat it as you would a grease fire. Do not throw water on it. Use a fire extinguisher (type ABC) or if it is contained in a pan, cover with a lid, extinguish any heat source and leave the lid in place until the area has cooled.
5. Use a temperature gauge and always know what the temperature is at all times.
6. Always use the water bath method of melting wax, never place your wax container directly on the heat source. Also, use a wire rack to keep the wax container from resting on the bottom of the water pan. Keep a close watch on the water level, it will evaporate quickly and must be replenished frequently. When done this way and properly supervised, you will eliminate any flash potential.
7. Don’t pour wax down the drain, it will block them.
There are many great books on this topic, if you would like to get really serious about candle making it would be a good idea to visit your local library or maybe even purchase a book for future reference.
The Author:
Pioneerthinking.com: Ingredients for a Simple Life. Insights from a seasoned professional rooted in country living, with 28 years of horticulture expertise and over two decades of practical experience in homesteading, natural beauty and cosmetic creations, natural health, cooking and creative living.
Photo. Gemini

Hello,
I am looking for a place that I can come in and make candles at,
Please can you assist!
Thank you.
Hi,
I am running a candle making station at a pioneer reenactment that will service 30 kids every half hour for 4 and 1/2 hours.I’m trying to figure out the best way to do this. How many dips does it take to get a decent sized candle? I’m thinking maybe a 4 to 5 inch candle.I’m sure I will need multiple stations. Do you think three would be enough? I would appreciate any help you could give me.
Thanks,
Kristin
Hi Kristin,
Beeswax candles may only require about 7-10 dips, while paraffin may require twice as many. When you allow for cooling time between dips, you may want to add an additional station or two to improve the flow of children.
I??ve been visiting your blog site temporarly now and i always look for a gem inside your new posts. Thanks for sharing.