3 Secrets to Conquer Soggy Home Canned Dill Pickles
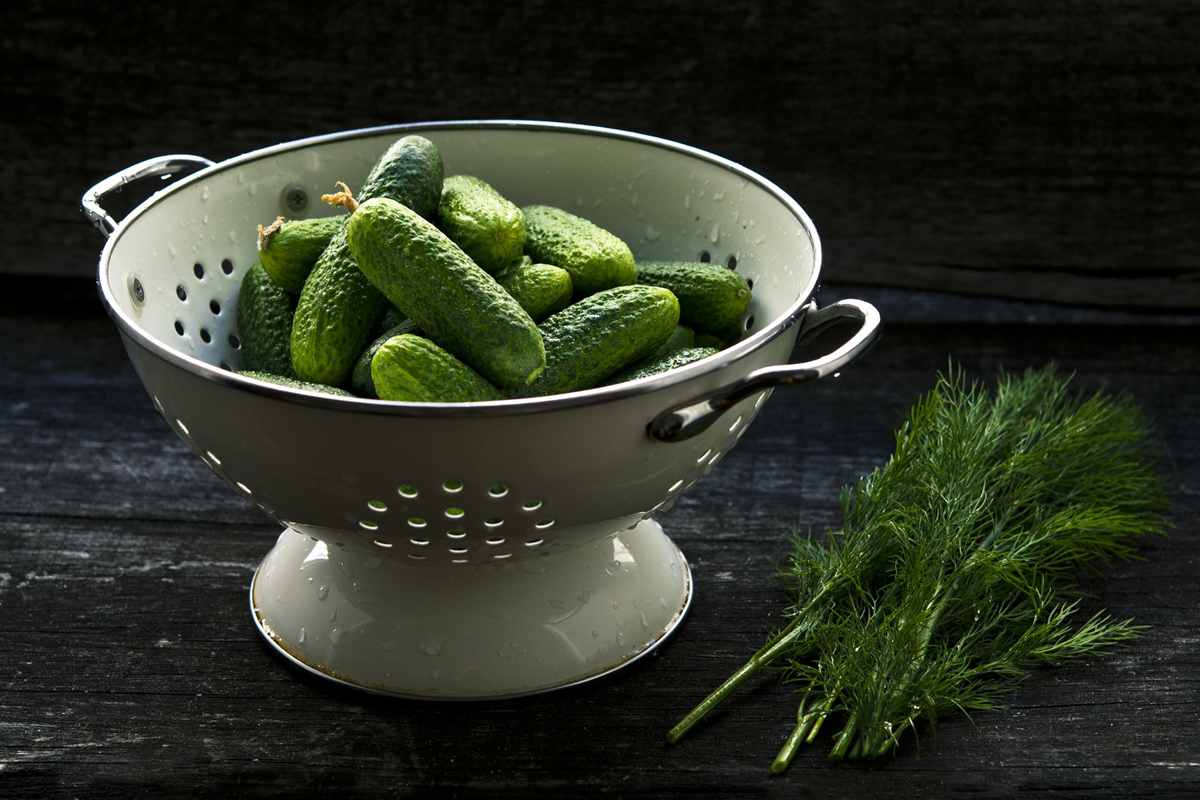
Home canning has been a part of our family traditions for as long as I can remember. Each year, when the harvest was complete and preserved in our family cellar I loved to be the one to give the final count on the fruit of our labors – peaches, pears, applesauce, beets, green beans, strawberry jam, and….PICKLES! I loved the pickles.
One particular day I wandered down to the cellar. I looked around the room, it was loaded with perfect home canned fruit and vegetables right out of our family garden and orchard. But…I had my mind set on one thing. I carefully scanned the shelves – Ah ha I found what I was looking for — a bottle of dill pickles I had canned myself.
As the bottle came off the shelf, my mouth started to water. Those pickles looked so good, I could hardly wait to get the lid off the bottle.
I finally made it to the kitchen and popped off the lid – immediately the smell of those home canned pickles wafted through the room – I couldn’t wait any longer. Out came the biggest pickle and I sunk my teeth into it.
Surprise! My joy quickly turned to despair when my teeth squished into a soggy dill pickle – not even worth eating! Almost weeping I ran to mother. What bad thing had happened to my pickles?
With a twinkle in her eye and a half smile, she started quizzing me down: “How long did the cucumbers wait before you pickled them?” “What size were the cucumbers that you used?” “Did you get them right out of the hot water bath when it started to boil?” Etc.
After playing detective for a couple of minutes, she laughed and gave me these important keys:
3 Family Secrets for Crispy Home Canned Pickles:
1. Harvest your cucumbers early in the morning and pickle them within 24 hours. The quicker the better. If you start with fresh, crisp, firm cucumbers you will have a better pickling experience.
2. Don’t let the cucumbers get too big. Smaller cucumbers become better pickles.
3. When you process the bottles of pickles – make sure you DON’T over cook them. The less they are cooked, the more crisp and crunchy they will be.
Believe me, I learned a valuable lesson – one I never forgot! Next time I canned my dill pickles I followed these guidelines religiously. My dream came true – to bite down into a crispy, crunchy, mouth-watering home canned baby dill pickle
I wanted to share these family secrets with you so your pickling experience can be a successful and happy one. Good luck fellow pickle lovers!
The Author:
easypreserve.com
Photo. Pexels

Can you tell me what kind o artificial sweetener mixture I can use for canning sweet pickle relish? I am diabetic and would like some with not quite so much sugar. Thank you. PS: I don’t have a web site, but wasn ‘t sure if I you wanted min or the site I as typin from.
There are several artificial sweeteners that you can use for canning sweet pickle relish. Here is a recipe that uses a mixture of stevia and erythritol:
Ingredients:
– 4 cups chopped cucumbers
– 2 cups chopped onions
– 1 cup chopped red bell pepper
– 1 cup chopped green bell pepper
– 1 tbsp salt
– 1 tsp celery seeds
– 1 tsp mustard seeds
– 1/2 cup white vinegar
– 1/2 cup apple cider vinegar
– 1/2 tsp stevia extract powder
– 1/2 cup erythritol
Instructions:
1. In a large bowl, combine the cucumbers, onions, red and green bell peppers with salt. Cover the bowl with a towel and let sit at room temperature for 2 hours.
2. Drain the vegetables using a colander and rinse them thoroughly with cold water. Let the vegetables drain for an additional 30 minutes.
3. In a large pot, combine the celery seeds, mustard seeds, white vinegar, apple cider vinegar, stevia, erythritol and 1/2 cup of water. Bring to a boil over medium-high heat, stirring occasionally.
4. Add the drained vegetables to the pot and bring the mixture to a boil. Reduce the heat to low and simmer, stirring occasionally, for 10 minutes.
5. Ladle the relish into hot, sterilized jars leaving 1/4 inch headspace. Process in a boiling water bath for 10 minutes.
6. Cool the jars completely on a wire rack before storing in a cool, dark place.
This recipe makes approximately 4 half-pint jars of sweet pickle relish. You can adjust the sweetness according to your preference by adding more or less stevia and erythritol.
Yes, you can use a mixture of artificial sweeteners for canning sweet pickle relish. Some good options to consider are Splenda, Equal, or Stevia. To maintain the sweetness level, you can generally substitute these sweeteners in a one-to-one ratio with sugar. For example, if your recipe calls for 1 cup of sugar, you can use 1 cup of your chosen artificial sweetener instead. However, it’s always best to follow the instructions on your specific brand of sweetener to ensure accurate measurements and cooking methods.
Just be sure to carefully follow proper canning procedures when using artificial sweeteners, as they may not provide the same level of preservation as sugar.
The shelf life of homemade relish that uses artificial sugar instead of regular sugar may vary depending on the type of artificial sweetener used and the storage conditions. However, typically, a homemade relish using artificial sugar can last up to 6 months if stored properly in an airtight container in the refrigerator. It is still essential to monitor the relish for any signs of spoilage such as mold, off odor or flavor, or discoloration. If any of these signs are present, it is best to avoid consuming the relish and discard it.