How to Make a Scarecrow for Your Garden
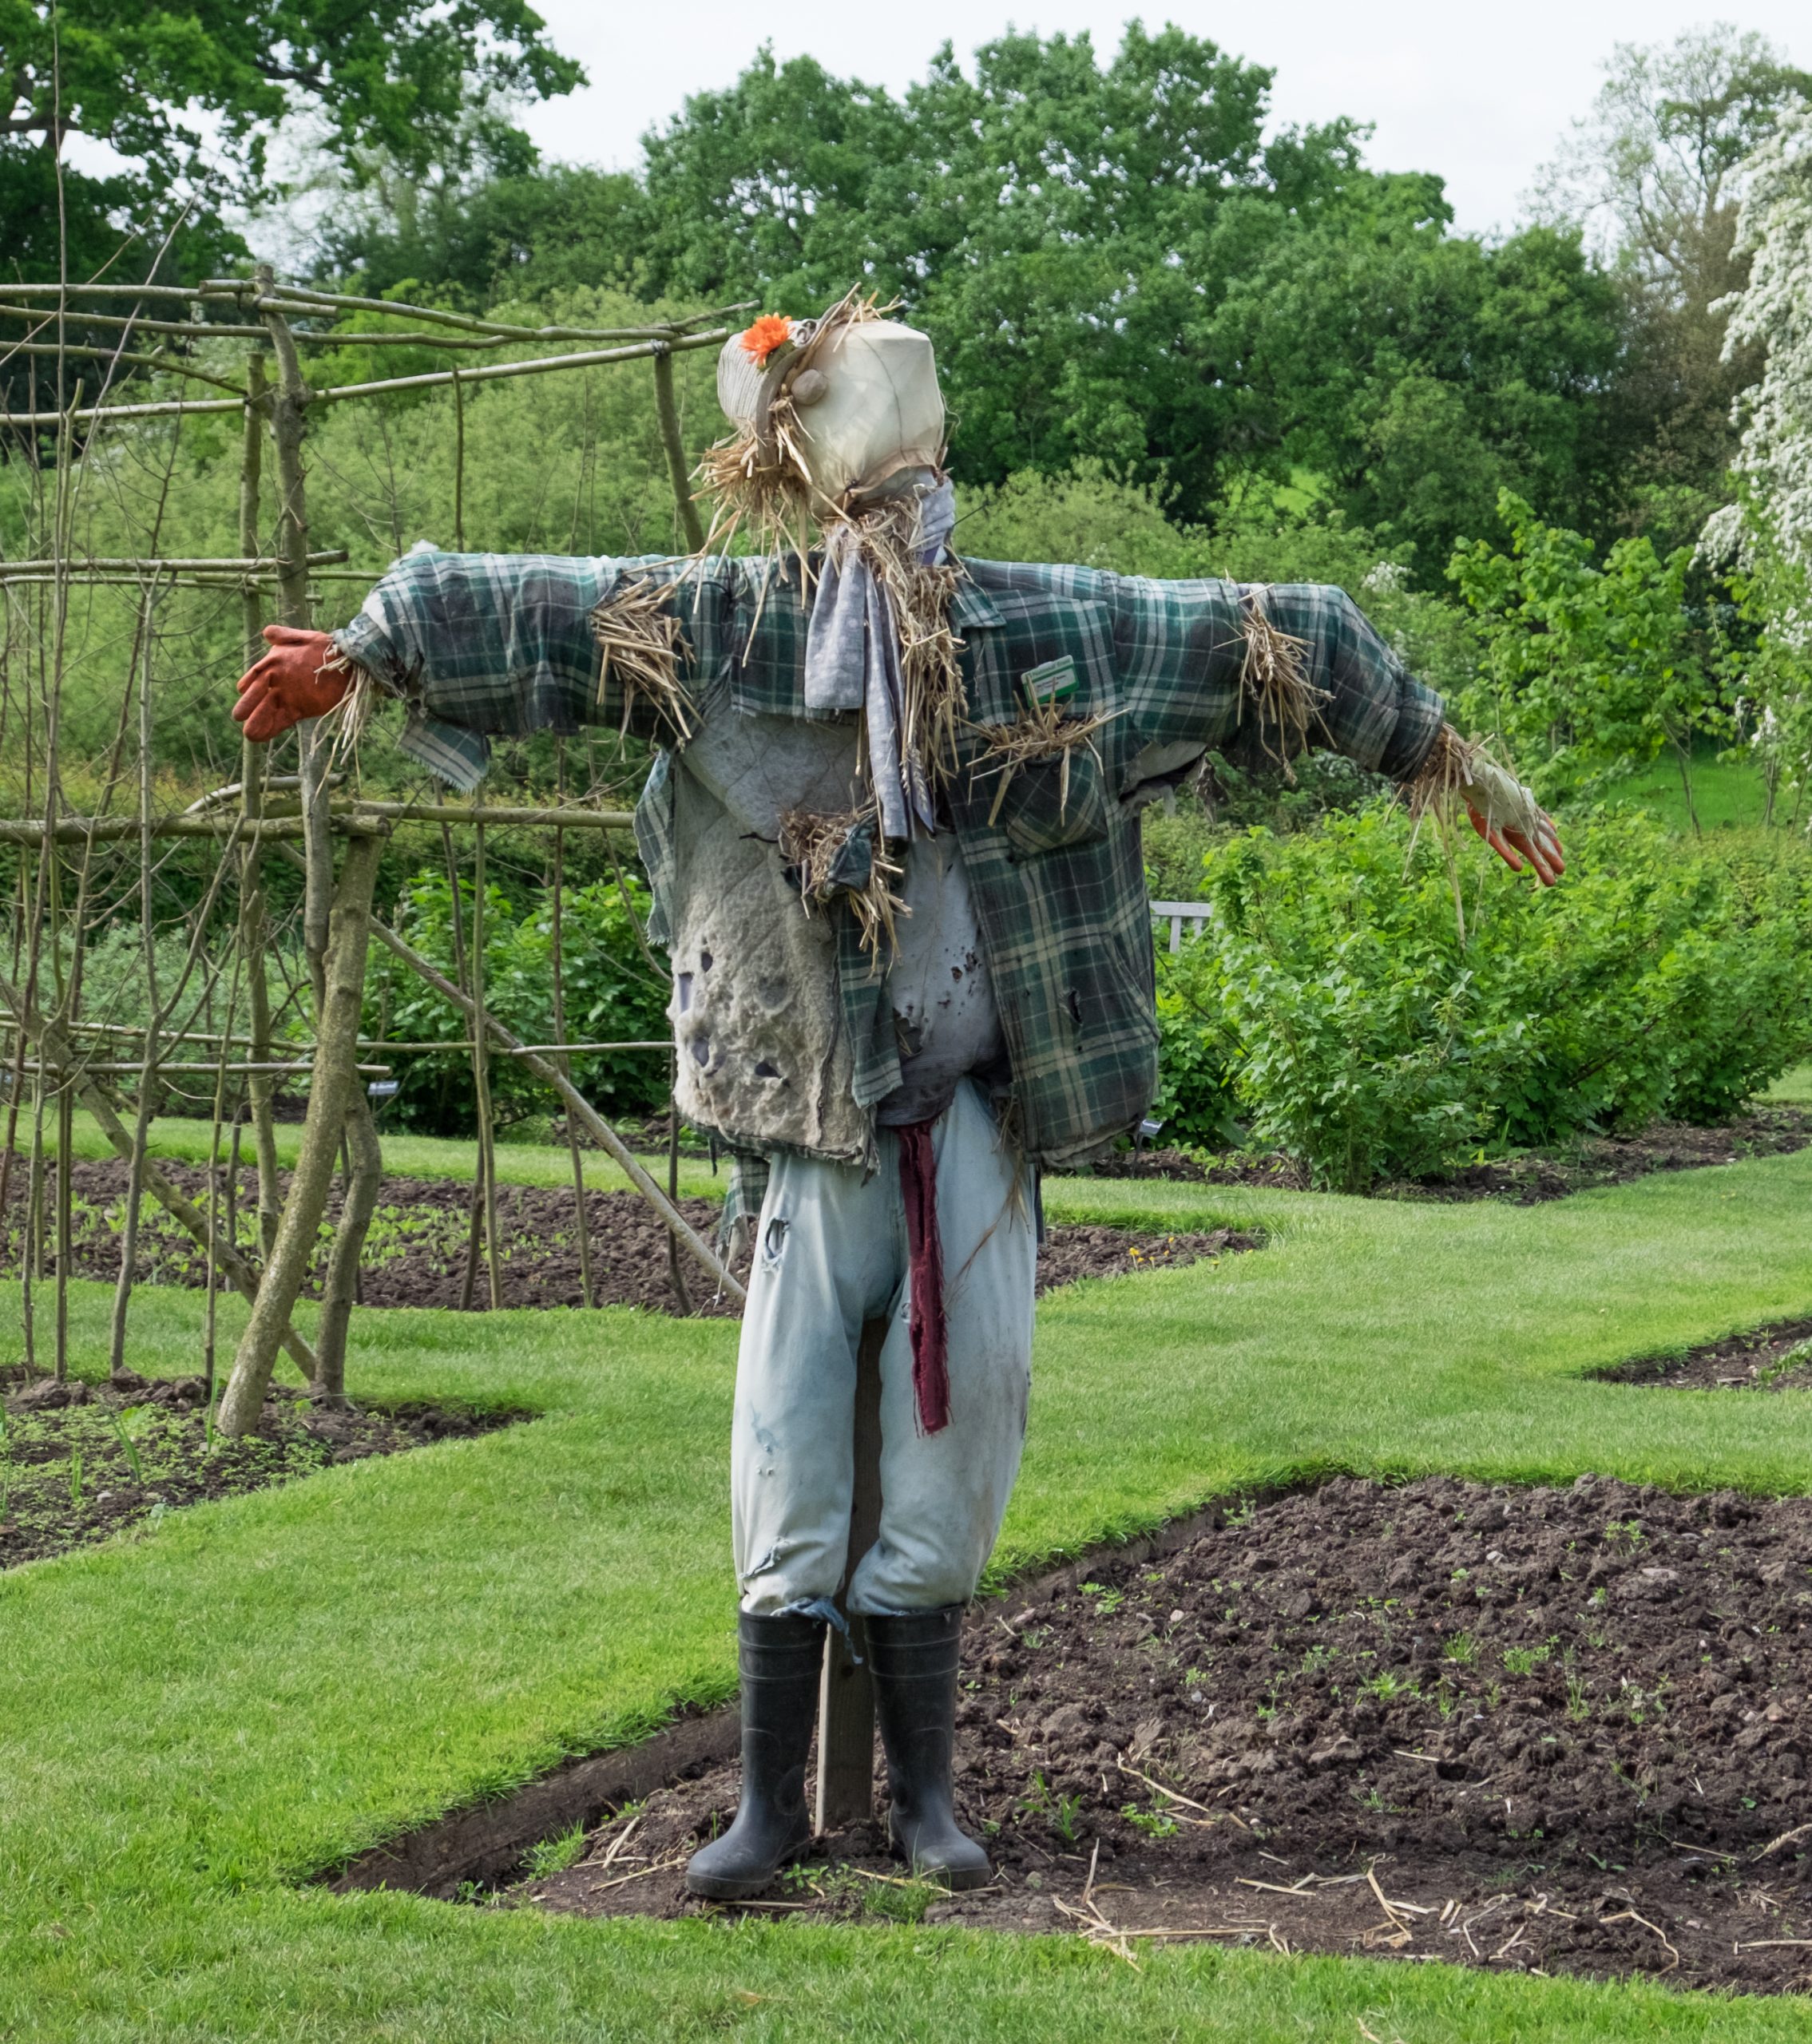
Scarecrows were first invented as a way to keep birds, especially crows, out of gardens and fields. While scarecrows are still used for that purpose, they are also used as decorations at Halloween or to decorate a yard for a party. They are usually dressed in clothes with bold colours or in jeans to give a more country look. They can have any mood, from scary to funny to outrageous. The more extreme the mood, the more of a conversation piece that they will become, so be creative.
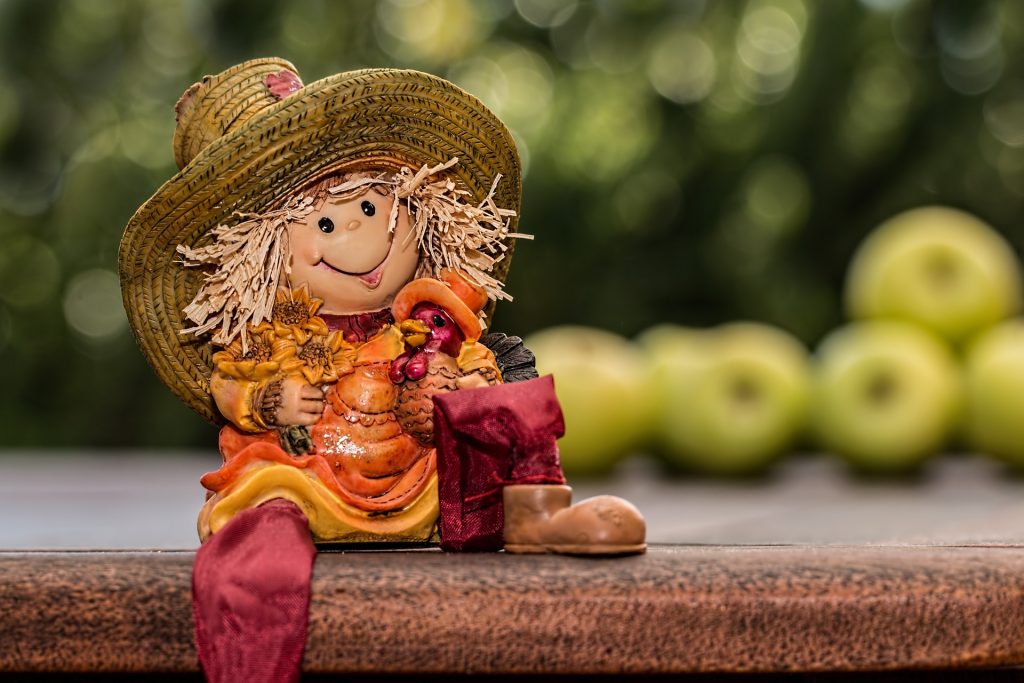
There are many benefits to making your own scarecrow. One benefit is that it is a good way to reuse old items that you have around the house. For example, you can dress it up in old clothes that are worn out or no longer fit. As well, it is a great way to spend quality time with your family and create memories that you will talk about for years to come.
Supplies You Will Need:
- Old clothes, including a long-sleeved shirt, pants, boots, a straw hat and old gloves
- String or baling twine
- A pillowcase for the head
- Material for stuffing – either old newspaper, rags, straw, leaves or fiberfill
- Paint or markers to use on the face
- Safety pins
- Straw bales
- Stakes (optional)
Once you have gathered up all the supplies you need, you can start by securely tying the ends of the pants and the sleeves on the shirt. Next, stuff the pants, shirt, boots and gloves with the filling of your choice. This is a good opportunity to recycle items instead of buying new material for the filling.
Next, attach the pants to the boots. You can do this in two ways. The first way is to use safety pins. The second way is to make little holes and tie them together. For the second option, you can do this by making a few holes near the edge in both the boots and the pants. Draw a string through a hole in the boot and in the pants and tie the ends together. This will keep the two parts securely attached. Do the same thing to attach the gloves to the sleeves of the shirt. Finally, stuff the shirt into the pants, using safety pins if you need to.
The next step is to create the head of the scarecrow using the pillowcase. First, use markers and paint to draw the eyes, eyebrows, nose, mouth and cheeks. Next, stuff the pillowcase. You can use the same stuffing as you did for the body, or it could be a different material, as long as you are happy with how the face looks in the end. After you have finished stuffing the pillowcase, securely fasten the straw hat to the head. Gently shake the head to ensure the hat won’t fall off or be blown away by the wind. Finally, attach the head to the rest of the body using safety pins.
At this point you are ready to prop up your scarecrow against the straw bales. If you want, you can place a stake down the back of the shirt or pants in order to keep the scarecrow in its place for the whole season. Once winter has arrived you should store your scarecrow indoors in a cool, dry place until next year.
The Author:

