How to Repot Orchids
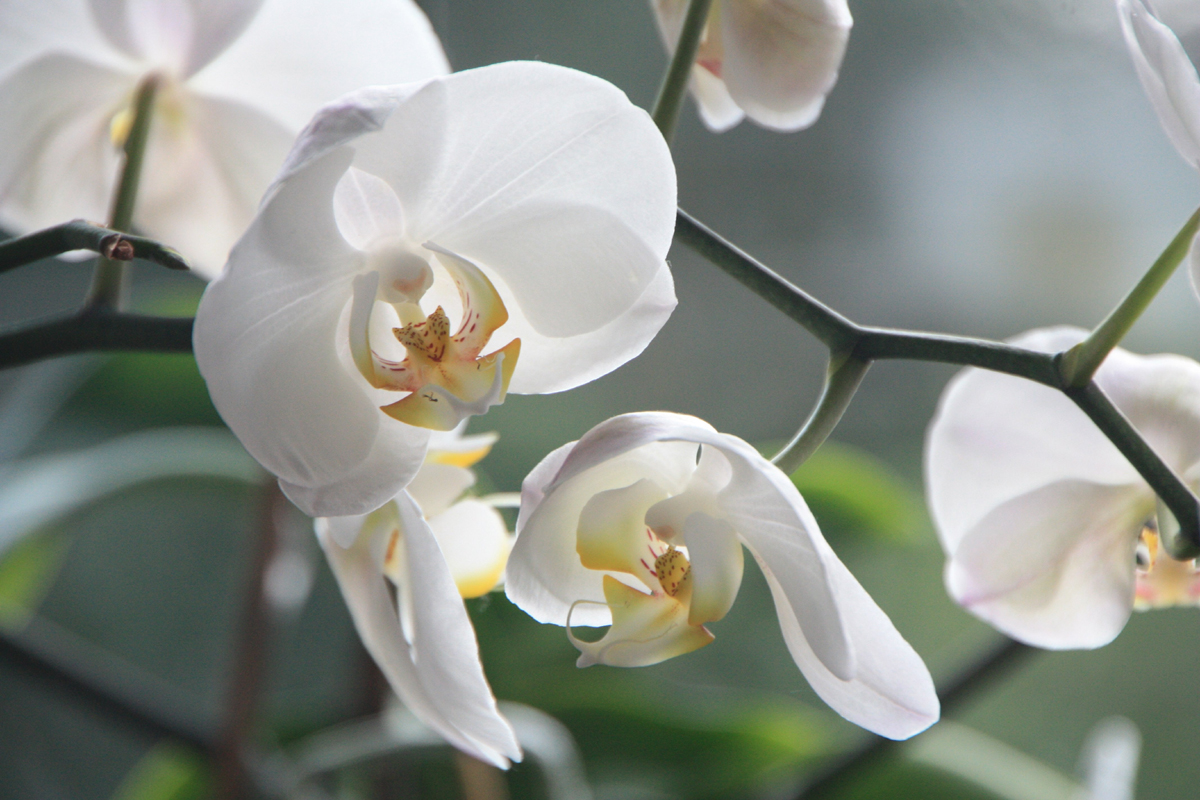
If you are growing orchids, then you should understand that the plants need to be repotted regularly. When repotting, it is essential to pay attention to the repotting medium, as it will be different for terrestrial orchid and epiphytic orchid. Orchids should be repotted every 18 to 24 months without fail. This is necessary to provide fresh growing medium to the orchids. Also, care should be taken to select a pot that can give a close fit to the roots. If you use a larger than necessary pot, the orchid will not show new growth for many weeks.
If the orchid is not repotted, it will flower poorly and may end up dying. So, if you notice that the plant is too big for the pot, or the growing medium has broken down, it is time to repot the plant. When the growing medium deteriorates, it does not drain properly and this can cause the roots of the orchid to rot. You can use a clay or plastic pot. If you are using as a clay pot, remember to water the plant more frequently as this kind of pot tends to get dry faster. On the other hand, when using plastic pots, ensure that there is a drainage hole, or else the stagnant water will cause the roots to rot and the plant will die. Also, if the orchid uses its roots for photosynthesis, it is necessary to provide a transport pot to let the sunlight reach the roots.
Orchid plants can live to be up to 100 years old.
Here are The Steps on How to Repot an Orchid:
Spread out old newspapers on the floor to prevent the growing medium from causing a mess. Turn the pot upside down and gently try to remove the orchid. If the roots are adhered to the side of the pot, then use a kitchen knife to loosen them. Once the orchid comes out, separate the roots to remove the old growing medium. If some of the growing medium clings to the roots, do not worry.
Trim the roots using a pair of heavy garden scissors. Before using the scissors, sterilize it by wiping it with some rubbing alcohol. This will prevent diseases from spreading from the scissors to the roots of the plant. Remove roots that look dead or damaged. The healthy roots will appear white and light green tips. This is also the correct time to get rid of leafless and shriveled pseudo bulbs.
Wash the new pot and allow it to soak for around thirty minutes in a 10 percent solution of chlorine bleach. Then rinse the pot well. If you intend using a new clay pot, let is soak for some time in water. Then add some potting mixture into the pot and pour some boiling water on the mixture to wet it. Allow the water the cool and then drain. Then put in your orchid into the pot and spread some damp bark near the roots.
The smallest orchid is the size of a dime.
It is important to keep the plant upright. So, put in a stake and attach the orchid to it with some twine. Transfer the pot to a shaded place and spray some water all over the orchid and the bark. This should be done twice a day until you observe new roots growing. Once the new roots penetrate the bark clippings, you can transfer the orchid to its normal location and begin feeding and watering the plant as you would normally do.
The Author:
Kum Martin


