Candle Making Molds
Molds for making candles can be purchased easily on several web sites or in specialty craft stores. There are many types of candle making molds in hundreds of designs available.
One Piece Seamless Molds are Convenient
One piece seamless molds are convenient. They are usually aluminum and have a hole in them to hold the wick in place while the wax is cooling and curing. These may be air cooled at room temperature, put in a refrigerator for faster cooling or in a cool water bath. The idea of the one piece candle making molds is that you don’t need to trim a seam when the candle is removed.
Tea Light Candle Molds
Tea light candle molds are made of a durable but flexible polyurethane material. They usually hold 12-16 candle making molds and look similar to a popsicle mold.
Designer Polycarbonate Candle Making Molds
Designer polycarbonate candle making molds have a pin on the top to hold the wick in place, and come in a large array of shapes and sizes to choose from. The ability to create many odd and fascinating shapes make these types of molds very attractive. The pyramid is probably the best known of this mold.
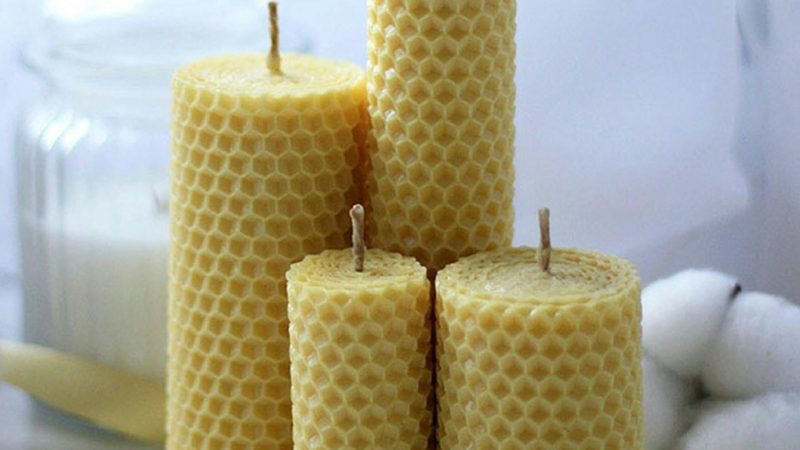
Grubby Molds
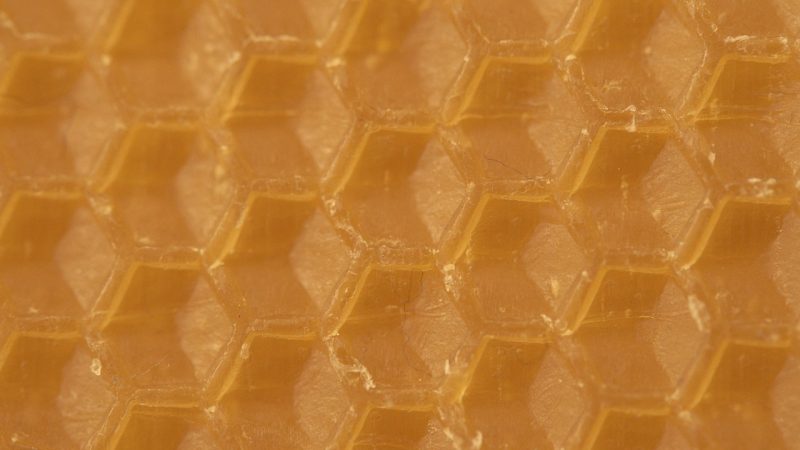
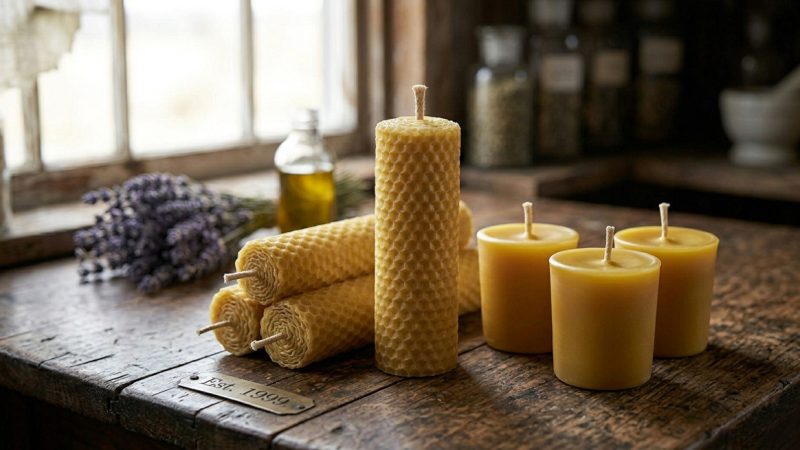
Grubby molds are very unique. This type of candle making mold appears as if the wax has dripped down the sides leaving a very uneven finish to the candle. Beeswax molds are similar to grubby molds as the texture in rough and appears to be a bee honeycomb.
Animal Candle Molds
Animal candle molds are usually made out of polyurethane and have a slit on the side due to the uneven shapes and sizes. There are many molds available in this style for every occasion. Baby showers, florals, weddings, food, fruit and vegetables along with every holiday have molds of these types to create your own candles.
Anyone can make their own candle making molds out of practically anything. You can use a vegetable or soup can by piercing a small hole in the bottom in which to insert the wick and pouring the wax in. When it is cool, just open the bottom with a can opener and push the candle out. Glass vases make gorgeous molds, but remember that in order to remove the candle easily the top of the vase needs to be larger than the bottom. Paper milk cartons can be cut and formed to any shape you wish and either stapled together or hot glued. If they are stapled, you just remove the staples to get the candle out or if hot glued together, you can just tear the paper away from the finished candle. Well that’s just a few of the tips and tricks on candle molds. Have fun and enjoy.
The Author:
Lee Martin
Photo. Gemini
Pioneer Insights & Modern Safety Update
by pioneerthinking.com
To further your candle-making journey, here are a few historical perspectives and modern safety tips to ensure your projects are both authentic and successful.
What the Pioneers Used
Before modern craft stores, pioneers relied on extreme resourcefulness. While many candles were “dipped” (dipping a wick repeatedly into melted tallow or beeswax), those who used molds typically utilized:
-
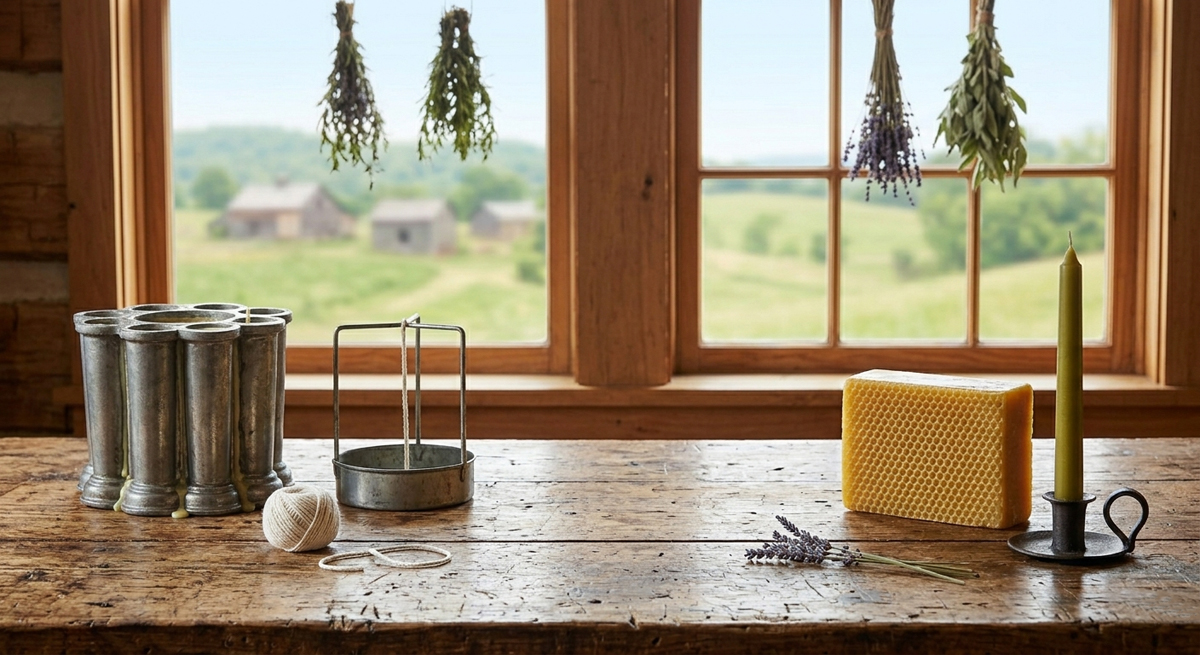
Tin or Pewter Molds: These were often multi-tubed (sets of 2, 4, 6, or 12) and were prized household possessions.
-
Hollowed Wood: Some early settlers used split wooden blocks carved with a cylinder or shape, tied tightly together during pouring.
-
Natural “Molds”: In some regions, large hollow reeds or even sections of bamboo were used as natural disposable molds.
Using a metal tin or soup can (as mentioned by Lee Martin above) is the closest modern equivalent to the traditional pioneer tin mold. It’s an easy, low-cost way to get that authentic “primitive” look.
Modern Safety & Success Tips
To ensure a safe and high-quality result, keep these updated tips in mind:
-
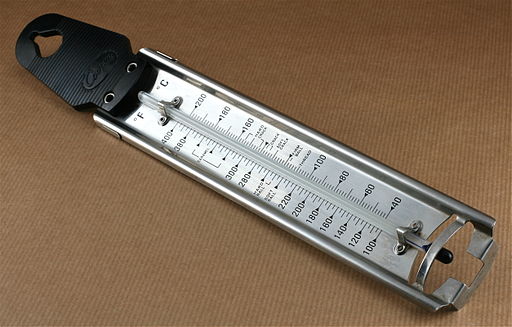
The Glass Rule: If using a glass vase as a mold, ensure it is heat-tempered. Standard thin glass can shatter if the wax is poured at temperatures exceeding 170°F. Pre-warming your glass in a low oven () before pouring can prevent thermal shock.
-
Release Agents: For DIY molds like cans or plastic containers, a very light coating of unflavored cooking spray (like Pam) or a dedicated silicone release spray will make de-molding much easier and prevent the wax from sticking to the sides.
-
Silicone vs. Polyurethane: While the article mentions polyurethane, most modern hobbyists now prefer silicone molds. Silicone is more flexible, handles higher temperatures, and doesn’t require a release agent, making it the best choice for intricate “animal” or “floral” shapes.
-
Avoid the Fridge: While it’s tempting to put a candle in the refrigerator to speed up cooling, this can cause the wax to shrink too quickly, resulting in “sinkholes” around the wick or cracks in the wax. Room temperature cooling is always best for a smooth finish.

This is brilliant! I’m so glad to have found you and be following you!